
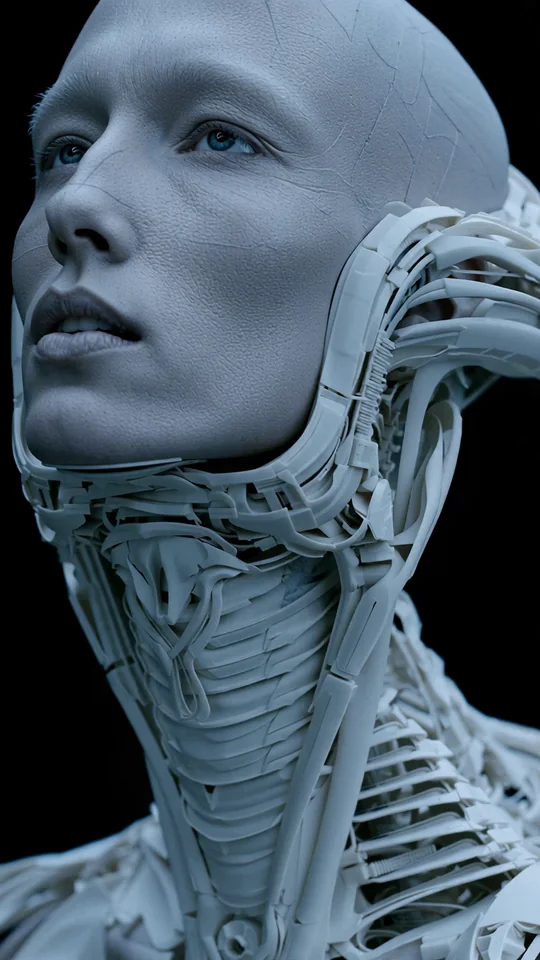
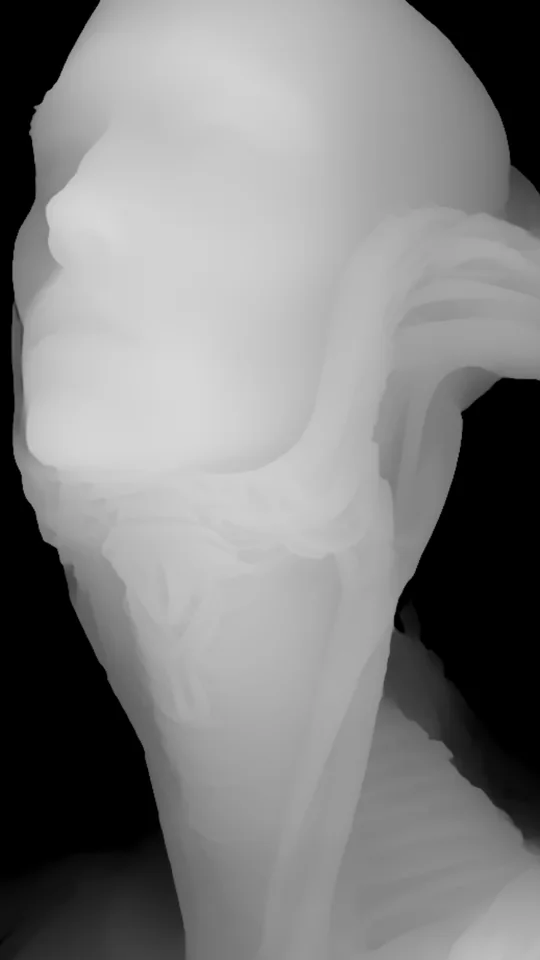
Requirements
- Windows 10 or 11, 64-bit.
- An NVIDIA graphics card with driver 570.65 or newer. 6 GB of video memory is enough for the Standard model resolution; High needs about 6 GB and Ultra about 11 GB, the optional Detail pass about 12 GB (see Model resolution). Tested on an RTX 3080 Laptop GPU with 16 GB.
- About 7 GB of free disk space on the drive you install to.
- An internet connection for the first start (a one-time download of about 2.9 GB) and for activating your license. After that DepthVideo works offline.
DepthVideo does not run on AMD or Intel graphics, and there is no Mac version yet.
The DepthVideo window uses Microsoft Edge, which is part of Windows, as a plain app window without tabs or address bar. If Edge has been removed from your PC, DepthVideo opens in your default browser instead and works the same way.
Install
- Download the installerOpen your Gumroad receipt or your Gumroad library and download
DepthVideo-Setup. Your license key is on the same page. - Run the installerThe installer is not code-signed yet, so Windows may show Windows protected your PC. Click More info, then Run anyway. DepthVideo installs for your user only and does not need administrator rights. Keep the suggested folder unless that drive is short on space.
- ActivateOn the first start, paste your license key and click Activate. This needs the internet once.
- System checkDepthVideo checks your graphics card, NVIDIA driver and free disk space, and shows what it will download.
- Download and installClick Download and install. DepthVideo downloads Python, PyTorch and the depth models (about 2.9 GB) and sets them up inside its own folder. You can pause and continue later; finished downloads are kept and every file is checked.
- StartWhen the setup says DepthVideo is ready, open the app. Later starts go straight to the main window.
Everything DepthVideo downloads stays in its own install folder. It does not change your system Python, CUDA, PATH or other programs such as ComfyUI. It only uses your NVIDIA driver.
Your first depth video
DepthVideo works in two passes. Pass 1 runs the depth model once per clip and caches the raw depth. Pass 2 turns that cache into finished files with your settings, so you can export again with other settings without waiting for the model.
- Settings firstOpen Settings at the top right once and check two folders: the Output folder, where your finished exports go (default Documents\DepthVideo), and the Cache folder, where pass 1 keeps its raw depth. The cache is big (a few hundred MB per clip at Standard, up to several GB at Ultra or with the Detail pass), so if your C: drive is short on space, point the cache at another drive before your first clip. The two are kept apart on purpose: exports are yours to keep, the cache can be cleared any time.
- Choose a videoClick Browse… at the top left and pick your clip, or paste its full path. In Explorer you can Shift + right-click a file and choose Copy as path. The first frame appears in the source pane right away, with the size, frame count and frame rate under the field.
- Pick the model resolutionStandard is fine for most clips; Ultra for thin detail such as branches or hair (slower, more video memory). See Model resolution.
- Run pass 1Click Generate pass 1: Z-depth. The progress bar at the top shows the frames. Any length works: memory use stays flat, and if pass 1 is interrupted it continues where it stopped.
- Check the previewWhen pass 1 is done, the clip appears in the list at the top and the depth preview opens next to the source. Move the frame slider to check a few moments.
- Pick a presetDepthVideo starts with ai_motion_reference, which writes one high-quality MP4. Choose another preset for After Effects or TouchDesigner, or adjust the settings and watch the preview.
- Run pass 2Click Generate final output: pass 2. Then click Open output folder to find your files.
The name field above the export buttons is both the preset name and the export subfolder: the files of this export go to <output folder>\<clip>\<name>\. Change the name before you export again with other settings, otherwise a -2, -3 suffix is added.
The main window
- Clip list at the top holds every clip with a finished pass 1, with its frame count, size, model resolution and whether it has a Detail pass. The bin icon next to it deletes that clip's cache.
- Depth and source previews show the selected frame exactly as pass 2 will write it. Tick 1:1 to see real pixels; both previews scroll together. Hover the ms value under the previews to see where the time goes.
- Frame slider moves through the clip. You can also type a frame number.
- Depth histogram shows the depth values of the whole clip, far on the left and near on the right. The orange band is the range that becomes black to white. Drag either orange line to change it, drag the middle of the band to move both, and double-click to go back to the preset. A grey dashed line marks a detected background.
- Time slice shows the middle column of the depth over time. Smooth horizontal bands mean stable depth; vertical streaks would mean flicker.
- Info line under the previews shows the range used and how much of the frame is clipped to pure white or pure black.
- Settings and About are at the top right. About shows your license, GPU and version, and opens the log folder.
Model resolution
The depth model looks at a scaled-down frame. Model resolution in step 1 sets that size (the short side of the frame the model sees):
| Setting | Model sees | Speed, video memory (RTX 3080 Laptop, HD clip) | When |
|---|---|---|---|
| Standard (518) | short side 518 px | about 22 frames/s, 2.8 GB | Most clips: people, rooms, objects, AI motion reference. |
| High (756) | short side 756 px | about 12 frames/s, 5.7 GB | More structure in busy scenes. |
| Ultra (1036) | short side 1036 px | about 6 frames/s, 10.5 GB (4K clip: 4.5 frames/s) | Thin detail against a far background: branches in front of sky or sea, hair, cables. The grey "cloud" that Standard makes of fine branches largely disappears. |
Each resolution has its own cache, so you can run the same clip at Standard and at Ultra and compare them in the clip list. Higher is not always better: on a portrait shot at 1080p, High is already close to the native size and Ultra adds little. If the graphics card runs out of memory, DepthVideo steps down one size by itself and says so in the log.
Detail pass (optional)
Step 1b runs a second, single-image depth model (Depth Anything V2 Small) over the clip at high resolution and puts its fine detail, thin branches, hair, cables, on top of the stable depth from pass 1. Optical flow (RAFT) carries the detail from frame to frame so it does not flicker. It is optional and costs time: about 15 minutes for a 1000-frame 4K clip with flow on an RTX 3080 Laptop, and up to 12 GB of video memory. Its two models come with the first-run setup, nothing is downloaded later.
- Select the clipPick the clip in the clip list (pass 1 must be done).
- Set the detail resolution and flowDetail resolution 1036 is the usual choice; 1552 is meant for 4K sources (it does not step down by itself when memory runs out, so go back to 1036 if the log says CUDA out of memory). Leave Flow on; off is faster but the detail flickers.
- GenerateClick Generate detail pass. The clip list shows
+detailwhen it is done. - Use itIn step 2 tick Use detail pass: the preview and the export now use the detailed depth. The Halo limit slider appears below it, see Presets and tuning.
One detail pass per clip. The resolution and flow boxes set how the detail pass is generated; they do not switch between stored versions. Generating again replaces the previous result. The detail pass lives in the clip's cache, so clearing the cache removes it too.
Presets and tuning
| Preset | What it does |
|---|---|
| ai_motion_reference | One high-quality MP4 for AI video platforms. Auto range, guided upscaling for clean edges. The app starts with this preset. |
| default | Auto range, 16-bit PNG sequence. |
| subject_contrast | Background black, gamma 0.7: faces and near details get more levels. |
| full_frame | Always normalizes over the whole frame, with no background detection. |
| touchdesigner | One ProRes 4444 .mov with guided upscaling. |
Normalization
- Mode. auto looks for a separate far background, such as a studio backdrop. If it finds one, the background becomes black and your subject fills the full range. If not, it uses the whole frame. subject always treats the background this way, full frame never does.
- Low and high percentile cut off the most extreme values so a few stray pixels do not squeeze the range. Dragging the orange lines in the histogram sets these for you.
- Gamma below 1 gives more levels to near things (faces), above 1 to the far range.
- Invert makes near black and far white, for tools that expect it that way.
The whole clip always uses one range, so the depth does not pump when something moves closer or further away.
Upscaling
The depth model works at a lower resolution; pass 2 always writes your source size. All methods except bilinear need the original video in its original place.
- bilinear is smooth and the fastest.
- guided by brightness snaps the depth edges to the brightness edges of your source video. A smaller Smoothing (eps) gives sharper edges but lets more source texture into the depth.
- guided by colour does the same with colour, so an edge between two colours of equal brightness (a red shirt on a green wall) is kept too.
- joint bilateral gives the cleanest outlines with no texture leaking into the depth: the depth edge follows the colour edge within the Radius, and Colour tolerance sets how different two colours must be to count as an edge. The best choice for displacement and stereo work; a little slower.
Detail pass in the preview and export
With a clip that has a Detail pass, tick Use detail pass to render from it. The Halo limit (px) slider below keeps the added detail inside the plain depth's local range: the two models can place an edge a few pixels apart, and without the limit that shows as a bright/dark double fringe along the edge, a spike in a displacement map. The default of 10 px catches it; 0 switches the limit off (more bite on the thinnest structures, but fringes). The setting is part of the preset and of the export.
Your own presets
Type a name in the name field (letters, digits, _ and -) and click Save preset. The same name is the export subfolder of pass 2 (<output folder>\<clip>\<name>\).
Output formats and stills
Tick any combination in step 3 of the left panel. Every format is written at your source size and frame rate.
| Format | Best for | Details |
|---|---|---|
| MP4 for AI video | Seedance and other AI video models | H.264, 8-bit, very high quality, plays and uploads everywhere. |
| PNG 16-bit sequence | After Effects, Nuke, most tools | One greyscale PNG per frame. |
| EXR half-float sequence | After Effects 32 bpc, Nuke, Fusion | RGB with the same value in all channels, ZIP compressed. |
| ProRes 4444 .mov | TouchDesigner, editing software | One 10-bit file. |
Files go to <output folder>\<clip>\<name>\ (the output folder is set in Settings, Documents\DepthVideo by default). Each export also writes settings_used.json with the exact settings, including the model resolution and the detail pass, and yt_slice.png, the stability slice. Open output folder opens the most specific folder that exists, even before pass 1.
Export folder
To put one export somewhere else, click Browse… next to the Export folder field and pick a folder: the export goes exactly there (sequences in a png16\ or exr\ subfolder, the MP4 and ProRes files next to them), and Open output folder opens that folder. Clear the field to go back to the output folder.
Save still
Save still writes the current frame as a 16-bit PNG with the current settings, without a full export: …\<clip>\stills\<name>_f<frame>.png under the output folder, or stills\ inside a picked export folder. Handy for checking a frame in After Effects before you export the whole clip.
AI motion reference
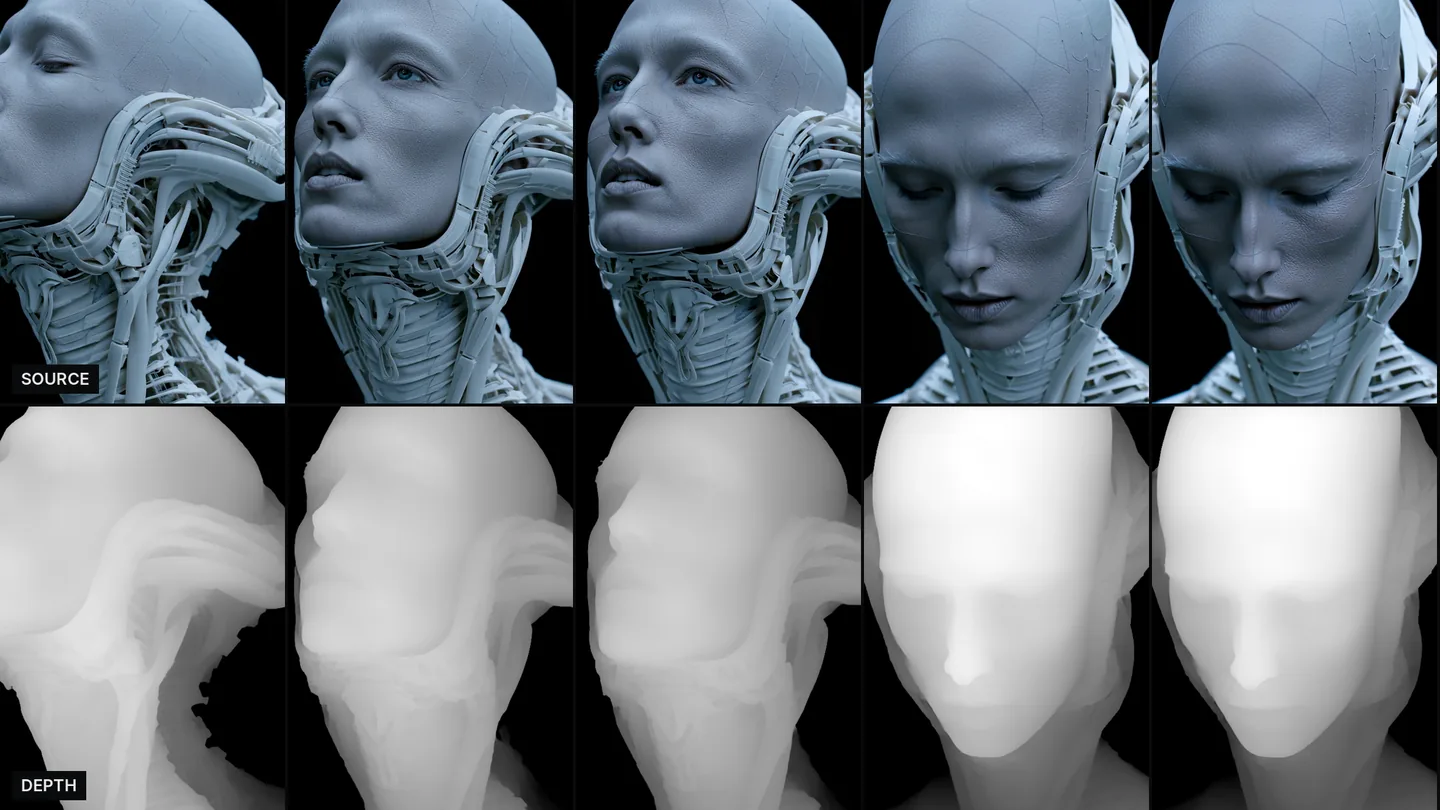
Many AI video models can follow a depth map video as a motion reference: the motion, composition and camera move of your clip stay, and the model renders a new look on top. Making the depth pass yourself saves the credits an online depth tool would cost, and a flicker-free depth gives a steadier result.
- Export with the ai_motion_reference preset.
- In your AI video platform, choose the mode that takes a reference or control video, and upload the
…_depth.mp4as the depth or motion reference. - Describe the new look in your prompt and generate.
Each platform names this mode differently and has its own length and size limits, so trim or resize your clip to match before pass 1 if needed.
After Effects
- Import. For PNG or EXR, use File, Import, select the first frame and tick the sequence option. Set the frame rate in Interpret Footage if it differs from your project.
- Bit depth. Use a 16 or 32 bpc project so the extra levels are not lost.
- Color management. Depth is data, not a picture. If your project is color managed, set the footage to preserve RGB so the values are not converted.
- Uses. Displacement Map, Camera Lens Blur with the depth as blur map, depth fog, mattes, and stereo 3D.
TouchDesigner
Export ProRes 4444 (the touchdesigner preset) and load the .mov in a Movie File In TOP. Choose a 16-bit pixel format in the TOP to keep the 10-bit precision of the file.
Settings, folders and cache
Open Settings at the top right to change:
- Output folder. Pass 2 writes here, one subfolder per clip. Default: Documents\DepthVideo.
- Cache folder. The raw depth from pass 1 (and the Detail pass). Set it before your first clip if the C: drive is small.
- Model resolution. The default for new clips; step 1 can override it per clip.
- Async save. Saves while the next part is computed. Same result, about 15% faster.
- Cache size and Clear cache, see below.
Cache management
The cache is what makes pass 2 instant, but it is easy to forget: a clip takes a few hundred MB at Standard, about 4 GB per 1000 HD frames at Ultra, and a 4K clip with a Detail pass several GB more. DepthVideo keeps it in view:
- At start, a banner appears when the cache has grown past 2 GB, with Clear and Keep.
- Settings shows the total size and has Clear cache for everything.
- The bin icon next to the clip list deletes the cache of the selected clip only.
Clearing never touches your exports or presets. A cleared clip leaves the clip list; run pass 1 again to get it back (and the Detail pass, if you used one). The cache cannot be cleared while a pass is running.
| Where | What |
|---|---|
| %LOCALAPPDATA%\Programs\DepthVideo | The app, Python, PyTorch and the depth model |
| %APPDATA%\DepthVideo | License, settings and your presets |
| %LOCALAPPDATA%\DepthVideo | Cache (unless you moved it), logs and the app window profile |
| Documents\DepthVideo | Your exports |
License and activation
- One license key works on up to 3 of your computers, for personal and commercial work. The depth maps and videos you make are yours.
- Activation needs the internet once. After that DepthVideo works offline.
- About once a month DepthVideo checks the key again when it is online. A refunded or disabled key stops working; a missing connection never deactivates it.
- Reinstalling or updating on the same computer does not use another activation.
- Replaced a computer and used all 3 activations? Contact the seller through Gumroad to reset your key.
Troubleshooting
For any problem, About and the setup screen both have Open log folder. Please attach setup.log or the newest log when you ask for help.
- Windows protected your PC
- The installer is not code-signed yet. Click More info, then Run anyway.
- No NVIDIA GPU found
- DepthVideo needs an NVIDIA graphics card and its driver. On laptops with two GPUs, make sure the NVIDIA driver is installed.
- NVIDIA driver is too old
- Update the driver from nvidia.com or the NVIDIA app to version 570.65 or newer, restart Windows and start DepthVideo again.
- Not enough free disk space
- Free up about 7 GB on the install drive, or reinstall to another drive.
- A download keeps failing
- Check your connection, VPN or firewall, then click Retry. Finished downloads are kept, so it continues where it stopped.
- The downloaded file is damaged
- A file did not match its checksum. Click Retry; it is downloaded again.
- PyTorch is installed but cannot use the NVIDIA GPU
- Update the NVIDIA driver, restart Windows and start DepthVideo again.
- This license key is not valid for DepthVideo
- Copy the key again from your Gumroad receipt, without spaces. Keys for other products do not work.
- This key is already activated on 3 computers
- Contact the seller through Gumroad to reset the key.
- Guided upscaling falls back to bilinear in the preview
- The source video is no longer where it was during pass 1. Move it back, or use bilinear.
- Pass 1 is slow
- Close other GPU-heavy programs. On laptops, plug in the charger and use the high-performance power mode. Ultra is about four times slower than Standard by design.
- CUDA out of memory
- Pass 1 steps down to the next model resolution by itself and says so in the log. The Detail pass does not: choose a lower detail resolution (1036 instead of 1552) and close other GPU programs.
- The cache is still in use
- Another DepthVideo window has the clip open. Close it and clear the cache again.
Uninstall
Open Windows Settings, Apps, Installed apps, find DepthVideo and choose Uninstall. This removes the app with Python, PyTorch and the depth model, plus the cache, logs and shortcuts.
Your license, settings and presets in %APPDATA%\DepthVideo are kept so a reinstall does not use another activation, and your exports in Documents\DepthVideo are never touched. Delete these two folders by hand if you want nothing left.
About the depth model
DepthVideo is made for commercial work: client projects, ads, paid AI video and everything else you get paid for. That is why it ships with Video Depth Anything Small, the only size of this video depth model whose license (Apache-2.0) allows commercial use.
The Base and Large versions are released under a non-commercial license (CC BY-NC 4.0). They cannot be part of a paid app, and you may not use them for paid work either. If you only work non-commercially and want to try them, you can set them up yourself in ComfyUI; they are not part of DepthVideo.
We work to get the most out of the Small model instead: the whole clip is processed as a video so the depth stays stable, and guided upscaling brings the edges of your source back into the depth.
For most uses this is plenty. Displacement, depth fog, lens blur and AI motion reference need clean, stable shapes more than fine texture, and depth maps for displacement are usually softened anyway; on portraits the smoother depth often looks better. Where the Small model reaches its limit is fine detail against a distant background, such as thin branches in front of open sky or sea. Version 1.1 adds three tools for exactly that: the Ultra model resolution, joint bilateral upscaling, and the optional Detail pass, which uses a second Apache-licensed model (Depth Anything V2 Small) for the fine structure.
What is new
1.1.0
- Model resolution Standard / High / Ultra, with a cache per resolution and automatic step-down when the GPU runs out of memory.
- Upscaling by colour and joint bilateral, next to the guided-by-brightness method.
- Detail pass (optional): a second model adds fine detail, carried along optical flow so it does not flicker; Halo limit slider against double fringes. Its models are part of the first-run setup.
- Export folder picker and Save still.
- Cache management: size in Settings, Clear cache, per-clip delete, a banner above 2 GB.
- The chosen video shows up in the source pane right after Browse, with its size and frame count.
- Several times faster preview and export: the whole frame pipeline runs on the GPU.
- Dialogs follow the display scaling; modern folder picker; new app icon.
- After the update, the first start runs the setup once more for a small new library; nothing large is downloaded again.
1.0.4
- File dialogs and folders open in front of the app window; small fixes.
Credits and support
DepthVideo is made by Ivó Kovács (ivo3d), a media artist working in projection mapping and immersive installations. The depth model is Video Depth Anything (Small, Apache-2.0); the Detail pass uses Depth Anything V2 (Small, Apache-2.0) and the RAFT optical flow weights shipped with torchvision (BSD-3). The full list of open-source components is in THIRD_PARTY_NOTICES.txt in the install folder and under About, Third-party notices.
Questions, refunds and license resets: contact the seller through your Gumroad receipt or the DepthVideo page on Gumroad.